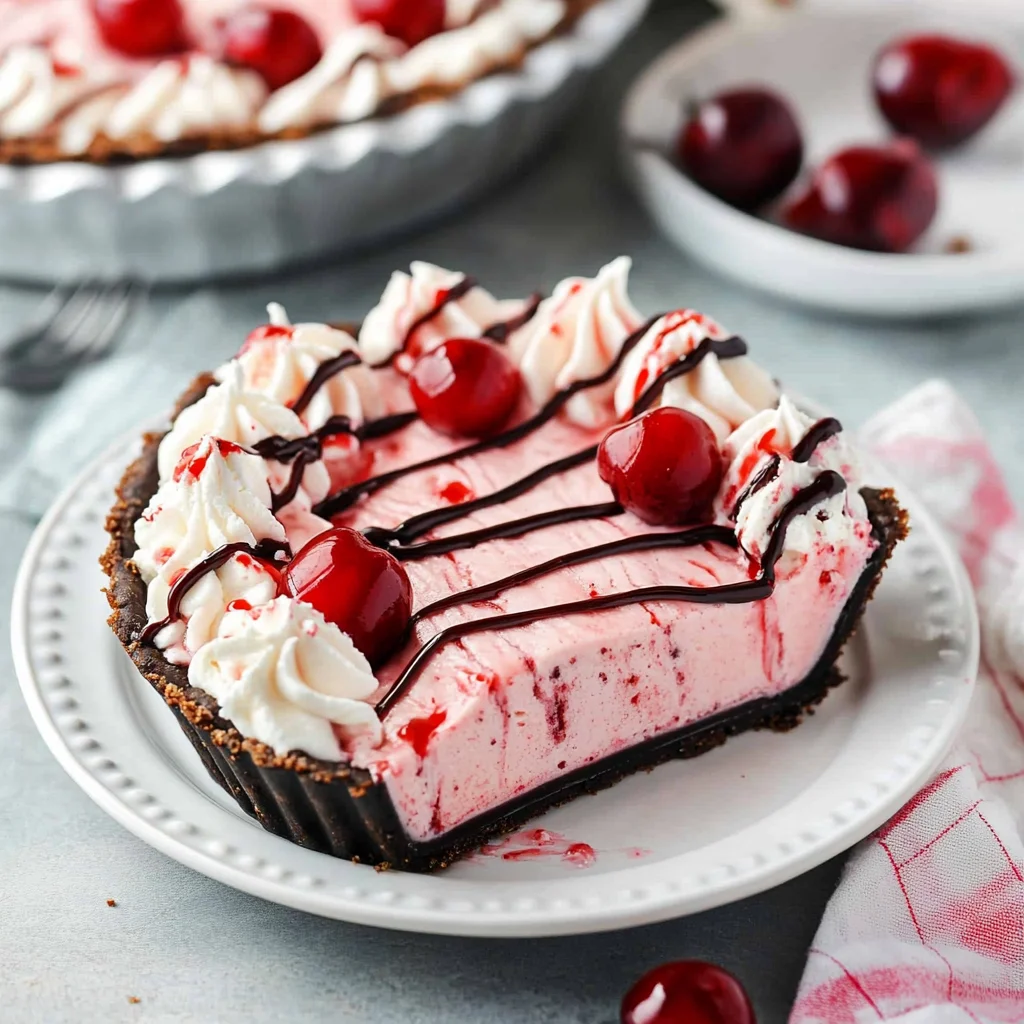
A Cherry Ice Cream Pie is the perfect frozen delight for any occasion! This no-bake dessert combines the sweetness of cherry pie filling with a creamy ice cream texture, all encased in a delicious chocolate crust. Ideal for summer gatherings, birthday parties, or simply as a treat to cool off on a warm day, this recipe stands out with its simple ingredients and rich flavors.
Why You’ll Love This Recipe
- Easy to Make: With just a few steps, you can whip up a delightful dessert that will impress your guests.
- No Baking Required: Enjoy the ease of a no-bake dessert that saves you time and effort in the kitchen.
- Versatile Flavor: The combination of cherry and chocolate offers a unique taste that appeals to many palates.
- Perfect for Gatherings: This pie serves up to 20 people, making it an ideal choice for parties or family dinners.
- Customizable Toppings: Feel free to add your favorite toppings like whipped cream or hot fudge for extra indulgence.
Tools and Preparation
To create your Cherry Ice Cream Pie, you’ll need some essential tools. Having the right equipment simplifies the process and ensures great results.
Essential Tools and Equipment
- Stand mixer with whisk attachment
- Medium mixing bowl
- Potato masher
- Plastic wrap
- Measuring cups and spoons
Importance of Each Tool
- Stand mixer with whisk attachment: This tool is crucial for achieving stiff peaks when whipping cream, ensuring a light and fluffy filling.
- Medium mixing bowl: A sturdy bowl allows you to mix ingredients without spills while providing enough space for combining the filling.
- Potato masher: Great for crushing cherries slightly; it helps incorporate the flavors without over-mixing.
Ingredients
A frozen delight! Cherry pie filling is made into an ice cream filling for a chocolate crust.
For the Filling
- 2 cups cold heavy whipping cream
- 1 20 ounce can cherry pie filling
- 1 14 ounce can sweetened condensed milk
- 1 teaspoon vanilla extract
For Garnish
- Hot fudge topping
- Whipped cream
- Cherries
For the Crust
- 2 recipes Oreo pie crust (or store bought)
How to Make Cherry Ice Cream Pie
Step 1: Prepare the Whipped Cream
Beat the whipping cream in your stand mixer fitted with the whisk attachment.
1. Start at low speed and gradually increase to medium-high.
2. Beat until stiff peaks form. This may take about 3-5 minutes. Set aside.
Step 2: Mix the Filling
In a medium mixing bowl:
1. Add cherry pie filling. Use a potato masher to crush it slightly; this will help distribute the cherries throughout.
2. Add sweetened condensed milk and vanilla extract.
3. Stir until well combined.
4. Gently fold in the whipped cream until no streaks remain.
Step 3: Assemble the Pies
- Divide the filling evenly between two prepared Oreo pie crusts.
- Cover each pie tightly with plastic wrap.
- Freeze for at least 4 hours, or until fully set.
Step 4: Serve Your Cherry Ice Cream Pie
When ready to serve:
1. Drizzle with hot fudge topping.
2. Top with whipped cream and cherries as desired.
3. Slice and enjoy this refreshing treat!
How to Serve Cherry Ice Cream Pie
Cherry Ice Cream Pie is a delightful dessert that brings together the sweet and tart flavors of cherries with a creamy texture. It’s perfect for any occasion and can be served in various ways to elevate your dining experience.
Classic Presentation
- Serve slices of the pie on chilled plates to keep the ice cream firm.
- Add a dollop of whipped cream on top for extra creaminess.
Chocolate Drizzle
- Drizzle hot fudge or chocolate sauce over each slice for a rich flavor contrast.
- Use a squeeze bottle for an elegant presentation.
Fresh Fruit Garnish
- Top with fresh cherries or berries for added color and freshness.
- Create a small fruit salad as a side for a refreshing touch.
Ice Cream Scoops
- Serve alongside scoops of vanilla or chocolate ice cream for an extra indulgence.
- Consider using homemade ice cream for enhanced flavor.
How to Perfect Cherry Ice Cream Pie
Creating the perfect Cherry Ice Cream Pie is simple with these tips. Follow these suggestions to ensure your dessert turns out delicious every time.
- Use cold ingredients: Ensuring all your ingredients are cold helps maintain the texture of the pie during preparation.
- Fold gently: When mixing the cherry filling with whipped cream, fold gently to keep the airy texture intact.
- Freeze adequately: Allow your pie to freeze for at least 4 hours. This ensures it sets properly and slices cleanly.
- Choose quality pie crust: Whether homemade or store-bought, opt for high-quality crusts for better flavor and texture.

Best Side Dishes for Cherry Ice Cream Pie
Pairing side dishes with Cherry Ice Cream Pie can enhance your dessert experience. Here are some great options that complement its flavors well.
- Vanilla Bean Ice Cream: A classic choice that adds creaminess without overpowering the cherry flavor.
- Chocolate Mousse: Offers a rich chocolatey contrast that pairs beautifully with cherries.
- Fruit Salad: A mix of seasonal fruits adds freshness and balances the sweetness of the pie.
- Cheesecake Bites: These mini desserts can provide a tangy counterpoint to the sweet cherry ice cream pie.
- Nutty Granola Bars: Crunchy granola bars add texture and make a great finger food option alongside dessert.
- Coffee or Espresso: The bitterness of coffee complements the sweetness of the pie, making it an ideal drink pairing.
Common Mistakes to Avoid
Making a Cherry Ice Cream Pie can be simple, but there are common pitfalls that can ruin your dessert. Here are some mistakes to avoid:
- Skipping the whipped cream: Failing to whip the cream to stiff peaks will result in a runny filling. Make sure to beat it thoroughly for the best texture.
- Overmixing the filling: Once you combine the cherry pie filling with the whipped cream, mix gently. Overmixing can deflate the whipped cream, leading to a less airy pie.
- Not freezing long enough: Serving the pie too soon will lead to a soft and messy dessert. Ensure it freezes for at least 4 hours for optimal structure.
- Using warm ingredients: Mixing warm or room temperature ingredients can affect the final texture. Always use cold heavy whipping cream and chill your pie crust before adding fillings.
- Ignoring garnish: Skipping toppings like hot fudge or whipped cream will make your pie less appealing. These garnishes enhance both flavor and presentation.
Storage & Reheating Instructions
Refrigerator Storage
- Store in an airtight container for up to 2 days.
- You can cover with plastic wrap if you plan to serve within a day.
Freezing Cherry Ice Cream Pie
- Wrap tightly in plastic wrap or foil for up to 3 months.
- Use a freezer-safe container if you have leftover slices.
Reheating Cherry Ice Cream Pie
- Oven: Not recommended as this is a frozen dessert.
- Microwave: Use low power for 10-15 seconds if needed, but this may affect texture.
- Stovetop: Also not recommended; best served frozen.

Frequently Asked Questions
What is Cherry Ice Cream Pie?
Cherry Ice Cream Pie is a delightful dessert made with cherry pie filling mixed into ice cream, all set in a chocolate crust. It’s perfect for summer gatherings!
How do I make Cherry Ice Cream Pie ahead of time?
You can prepare this dessert up to 3 months in advance. Just be sure it’s well-wrapped before freezing.
Can I customize my Cherry Ice Cream Pie?
Absolutely! You can use different pie fillings like blueberry or strawberry, or even add nuts or chocolate chips for extra crunch.
How many servings does this recipe yield?
This Cherry Ice Cream Pie recipe yields about 20 servings, perfect for parties or family gatherings!
Can I use a different crust?
Yes! While an Oreo crust works wonderfully, you can experiment with graham cracker crusts or even homemade pastry crusts if preferred.
Final Thoughts
Cherry Ice Cream Pie is not just a treat; it’s an experience! With its creamy filling and chocolate crust, it’s bound to impress everyone at your gathering. Plus, you can easily customize it with different flavors and toppings. Don’t hesitate—give this recipe a try and enjoy the delightful fusion of flavors!
Cherry Ice Cream Pie
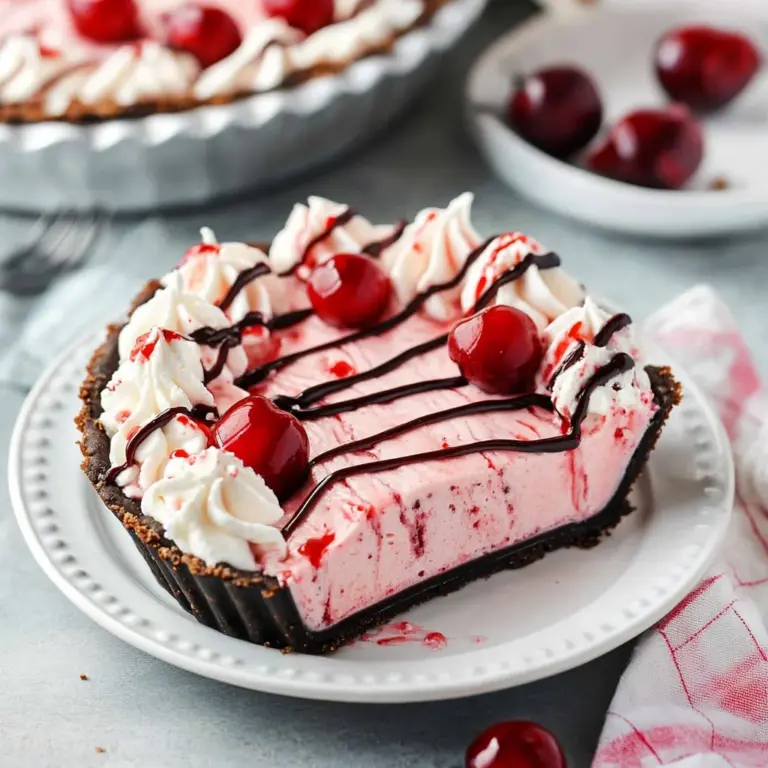
Cherry Ice Cream Pie is a delightful frozen dessert that combines the sweet and tart flavors of cherry pie filling with a creamy ice cream texture, all nestled in a rich chocolate crust. Perfect for summer gatherings or birthday celebrations, this no-bake treat is incredibly easy to make and sure to impress your guests. With just a handful of simple ingredients, you’ll create a stunning dessert that not only tastes amazing but also looks beautiful on any table. Top it with whipped cream and hot fudge for an extra indulgent touch, making it a memorable finale to any meal.
- Total Time: 24 minute
- Yield: Approximately 20 servings 1x
Ingredients
- 2 cups cold heavy whipping cream
- 1 can (20 oz) cherry pie filling
- 1 can (14 oz) sweetened condensed milk
- 1 tsp vanilla extract
- 2 Oreo pie crusts (homemade or store-bought)
Instructions
- In a stand mixer, beat the cold heavy whipping cream until stiff peaks form; set aside.
- In a medium bowl, mix cherry pie filling, sweetened condensed milk, and vanilla extract. Gently fold in the whipped cream until fully combined.
- Divide the filling between two Oreo pie crusts and cover with plastic wrap. Freeze for at least 4 hours or until set.
- Serve chilled, drizzled with hot fudge and topped with whipped cream and cherries as desired.
- Prep Time: 15 minutes
- Cook Time: None
- Category: Dessert
- Method: No-Bake
- Cuisine: American
Nutrition
- Serving Size: 1 serving
- Calories: 320
- Sugar: 23g
- Sodium: 180mg
- Fat: 21g
- Saturated Fat: 12g
- Unsaturated Fat: 6g
- Trans Fat: 0g
- Carbohydrates: 30g
- Fiber: 1g
- Protein: 3g
- Cholesterol: 60mg
Keywords: For added texture, consider mixing in crushed nuts or chocolate chips into the filling. This recipe can be made up to three months in advance—just ensure it's tightly wrapped before freezing.

