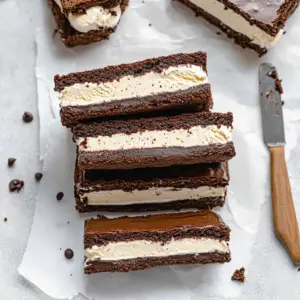
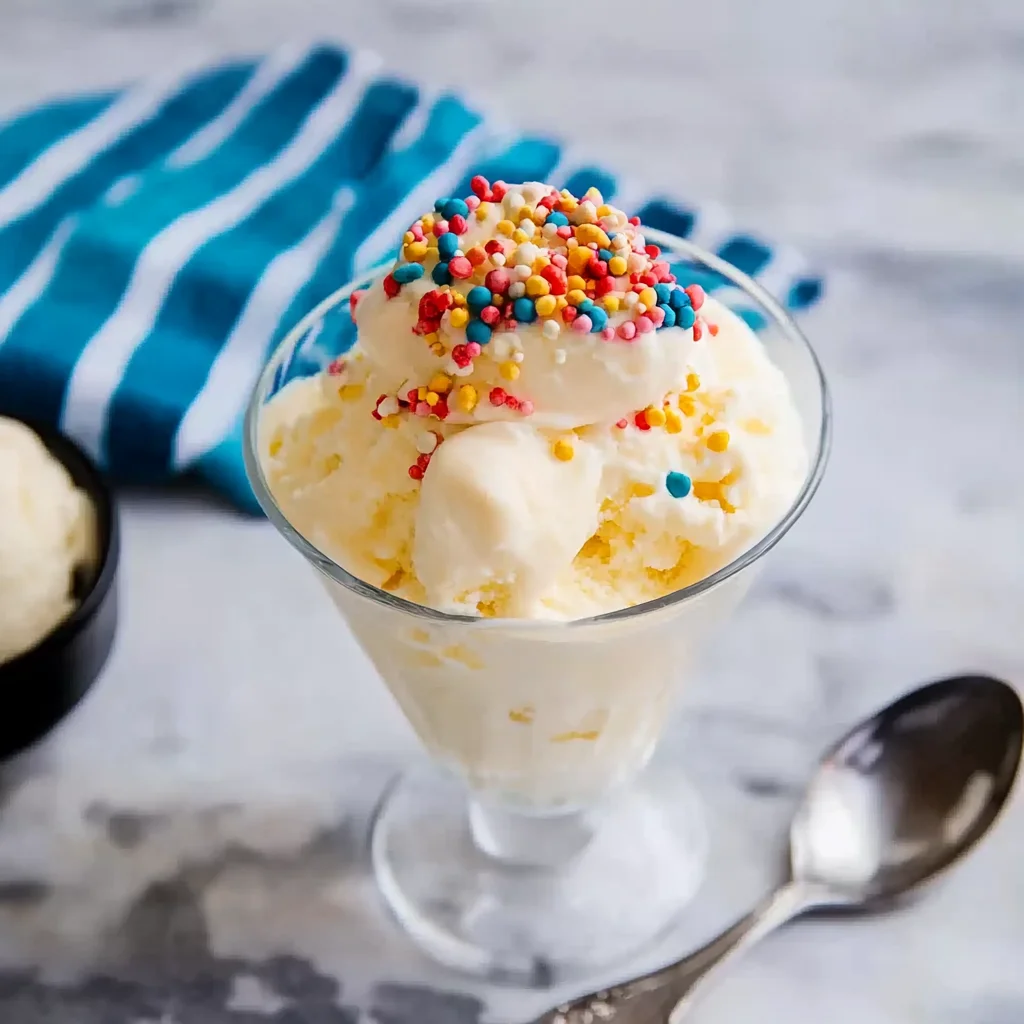
This No-Churn Vanilla Ice Cream is the perfect frozen treat that anyone can whip up at home. With its creamy texture and rich flavor, it’s an ideal dessert for any gathering, from summer barbecues to cozy family dinners. Best of all, you don’t need an ice cream machine to make it! Just a few simple ingredients and a little patience will get you this delightful treat that everyone will love.
Why You’ll Love This Recipe
- Easy to Make: No complicated processes or fancy gadgets are required; just mix and freeze!
- Rich Flavor: The combination of eggs and heavy cream delivers a decadent taste that’s hard to resist.
- Versatile Dessert: Enjoy it on its own, with toppings, or as a base for other desserts.
- Perfect for Any Occasion: Whether it’s a birthday party or a casual weeknight, this ice cream fits right in.
- No Special Equipment Needed: You can prepare this treat without an ice cream maker, making it accessible for everyone.
Tools and Preparation
Before diving into making your no-churn vanilla ice cream, gather your tools. Having everything ready will make the process smooth and enjoyable.
Essential Tools and Equipment
- Mixing bowl
- Whisk or hand mixer
- Double boiler setup (pot and heat-safe bowl)
- Spatula
- Freezer-safe container or loaf pan
Importance of Each Tool
- Mixing bowl: Essential for combining ingredients smoothly without spills.
- Whisk or hand mixer: Helps achieve a light and airy texture in the egg mixture.
- Double boiler setup: Ensures even heating while preventing the eggs from scrambling.
- Spatula: Perfect for folding ingredients together gently to preserve airiness.
Ingredients
To make this delicious no-churn vanilla ice cream, you’ll need the following ingredients:
For the Base
- 6 ounces (170 g) heavy cream (about 3/4 cup)
- 3 large eggs (about 5 1/2 ounces; 155 g)
- 3 1/2 ounces (100 g) sugar (about 1/2 cup)
- 1/4 teaspoon (1 g) Diamond Crystal kosher salt (or about 1/8 tsp table salt)
- 3/4 teaspoon vanilla extract
For Garnish
- 2 tablespoons fresh parsley, finely chopped
How to Make No-Churn Vanilla Ice Cream
Step 1: Prepare the Egg Mixture
In a large mixing bowl, combine the eggs, sugar, and salt.
Place the bowl over a pot of simmering water to create a double boiler. Whisk continuously until the mixture is warm and has thickened slightly, about 8–10 minutes. It should reach about 160°F (71°C) for food safety.
Step 2: Cool the Mixture
Remove the bowl from heat. Continue whisking or use a hand mixer to beat until the mixture cools down and becomes thick and airy.
Step 3: Whip the Cream
In a separate bowl, whip the heavy cream until stiff peaks form.
Step 4: Combine Ingredients
Gently fold the whipped cream and vanilla extract into the cooled egg mixture until fully incorporated.
Step 5: Freeze
Pour the mixture into a loaf pan or freezer-safe container. Smooth the top with a spatula.
Cover tightly with plastic wrap or a lid and freeze for at least 4 hours or until firm.
Step 6: Serve
Scoop out your delicious no-churn vanilla ice cream straight from the freezer. Enjoy your homemade treat!
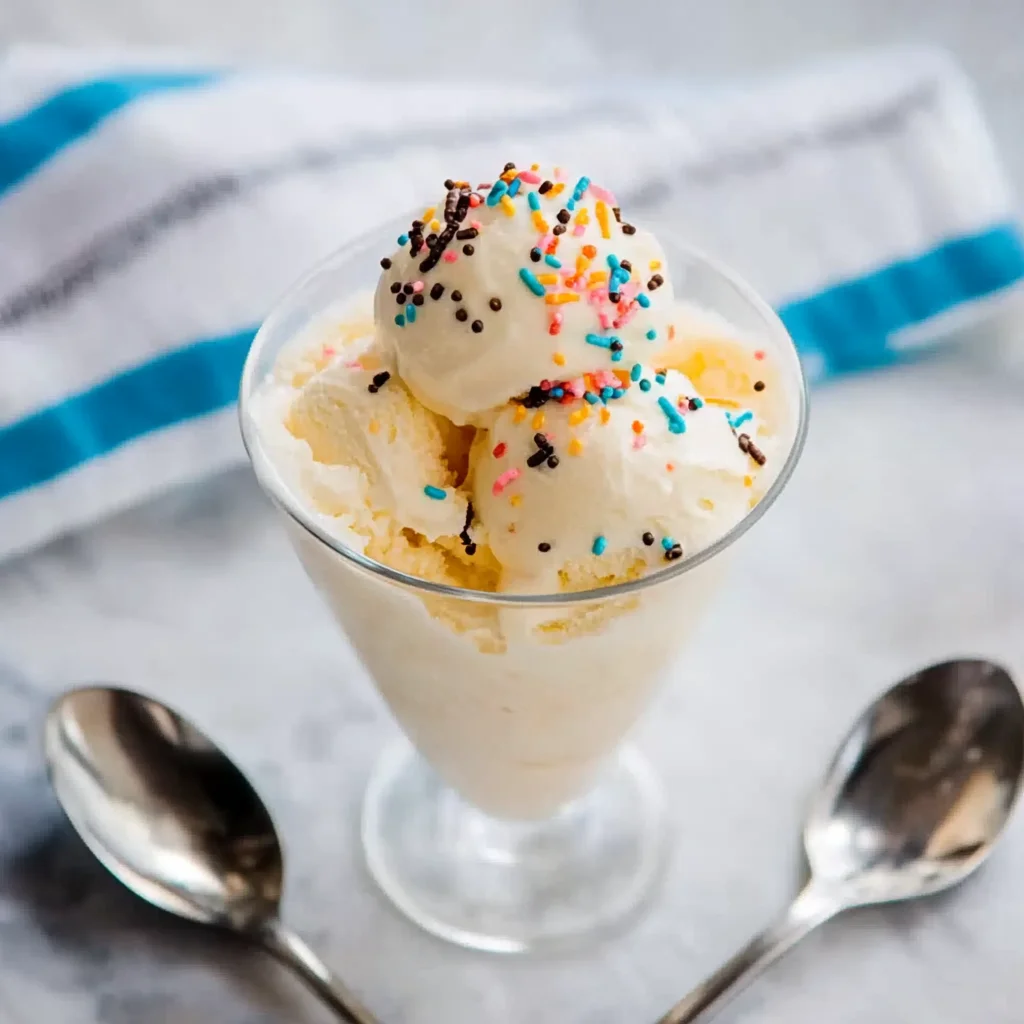
How to Serve No-Churn Vanilla Ice Cream
Serving no-churn vanilla ice cream can be as creative as you want. This versatile dessert pairs wonderfully with various toppings and side dishes. Here are some delicious suggestions to elevate your ice cream experience.
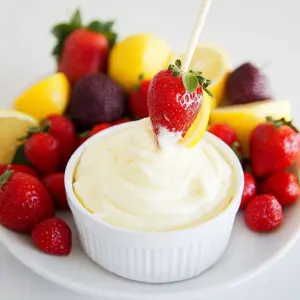
With Fresh Fruits
- Berries: Strawberries, blueberries, or raspberries add a burst of flavor and a refreshing contrast.
- Bananas: Sliced bananas bring sweetness and a creamy texture that complements the ice cream.
- Peaches: Grilled or fresh peaches provide a sweet and juicy addition.
In a Sundae
- Chocolate Sauce: Drizzle warm chocolate sauce over the top for a classic sundae experience.
- Nuts: Chopped nuts like walnuts or almonds add crunch and enhance the flavor profile.
- Whipped Cream: A dollop of whipped cream adds extra creaminess and a festive touch.
As an Affogato
- Espresso: Pouring hot espresso over the ice cream creates a delightful Italian dessert known as affogato.
- Coffee Liqueur: Add a splash for an adult twist, enhancing the flavors with richness.
How to Perfect No-Churn Vanilla Ice Cream
Creating the perfect no-churn vanilla ice cream requires attention to detail. Here are some tips to ensure you get a rich and creamy texture every time.
- Use Fresh Ingredients: High-quality heavy cream and fresh eggs make a noticeable difference in taste and texture.
- Whip Cream Properly: Whip the heavy cream until stiff peaks form to add volume and body to your ice cream.
- Cool Gradually: Let the egg mixture cool slowly; this helps incorporate air, making your ice cream light and fluffy.
- Avoid Overmixing: Gently fold in the whipped cream. Overmixing can deflate the air you’ve incorporated, leading to denser ice cream.
Best Side Dishes for No-Churn Vanilla Ice Cream
Pairing side dishes with your no-churn vanilla ice cream can enhance its flavor profile. Here are some delightful options that work beautifully together.
- Chocolate Chip Cookies: These classic cookies offer a chewy texture that complements the creamy ice cream perfectly.
- Brownies: Rich, fudgy brownies create an indulgent dessert combo that is hard to resist.
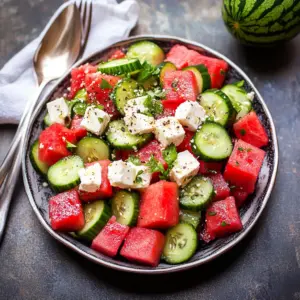
- Fruit Salad: A light fruit salad provides freshness and balances out the richness of the ice cream.
- Pecan Pie: The nutty sweetness of pecan pie pairs well with vanilla flavors for an elevated dessert experience.
- Apple Crisp: Warm apple crisp adds spice and warmth; serve it à la mode for an extra treat.
- Caramel Sauce Cake: A slice of caramel cake brings sweetness and moisture that enhances each bite of ice cream.
Common Mistakes to Avoid
Making No-Churn Vanilla Ice Cream at home is simple, but there are a few common mistakes that can spoil your experience. Here are some tips to help you avoid them.
- Skipping the double boiler: Failing to use a double boiler can lead to uneven cooking. Always whisk over simmering water to ensure the egg mixture warms and thickens properly.
- Not cooling the mixture: If you skip cooling the egg mixture before folding in the whipped cream, it might deflate. Be patient and let it cool completely for the best texture.
- Over-whipping the cream: Whipping the cream too long can turn it into butter. Stop when you see stiff peaks for a smooth and creamy ice cream.
- Inadequate freezing time: Rushing the freezing process will result in a mushy texture. Ensure you freeze the ice cream for at least 4 hours or until firm.
- Neglecting flavor variations: Sticking strictly to vanilla limits creativity. Experiment with different extracts or mix-ins for a unique twist on your ice cream.
Refrigerator Storage
- Store leftover ice cream in an airtight container to prevent freezer burn.
- It can last up to 1 week in the refrigerator but is best enjoyed fresh.
Freezing No-Churn Vanilla Ice Cream
- Place the ice cream in a freezer-safe container, preferably glass or heavy-duty plastic.
- It can be frozen for up to 2 months without losing quality.
Reheating No-Churn Vanilla Ice Cream
- Oven: Not recommended as it will melt quickly; better suited for baked desserts.
- Microwave: Use short intervals (10-15 seconds) on low heat to soften slightly without melting.
- Stovetop: Not advisable; this treat is best enjoyed frozen.
Frequently Asked Questions
What is No-Churn Vanilla Ice Cream?
No-churn vanilla ice cream is a homemade frozen dessert made without an ice cream maker. It uses simple ingredients like heavy cream and eggs, resulting in a rich and creamy texture.
How long does No-Churn Vanilla Ice Cream last?
When stored properly in an airtight container, no-churn vanilla ice cream lasts about 2 months in the freezer while maintaining its quality.
Can I customize my No-Churn Vanilla Ice Cream?
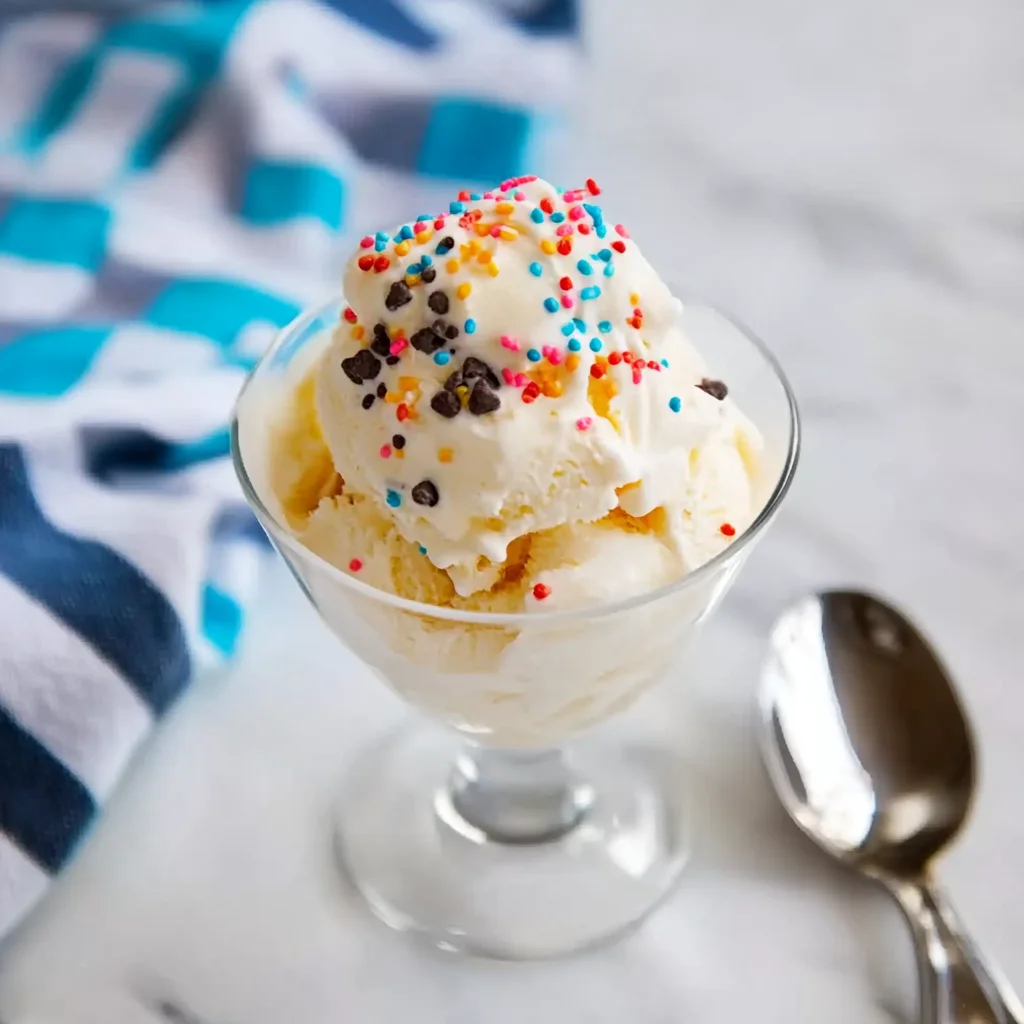
Absolutely! Feel free to add mix-ins like chocolate chips, fruit, or other flavors during the folding stage for a personalized treat.
Why does my No-Churn Vanilla Ice Cream not freeze well?
If your mixture was not whipped properly or if it’s too warm when placed in the freezer, it may not freeze correctly. Always cool down mixtures before freezing.
Final Thoughts
This No-Churn Vanilla Ice Cream recipe is not only easy but also incredibly versatile. You can customize it with various flavors and mix-ins, making it perfect for any occasion. Don’t hesitate to try it out and enjoy a delicious homemade treat!

No-Churn Vanilla Ice Cream
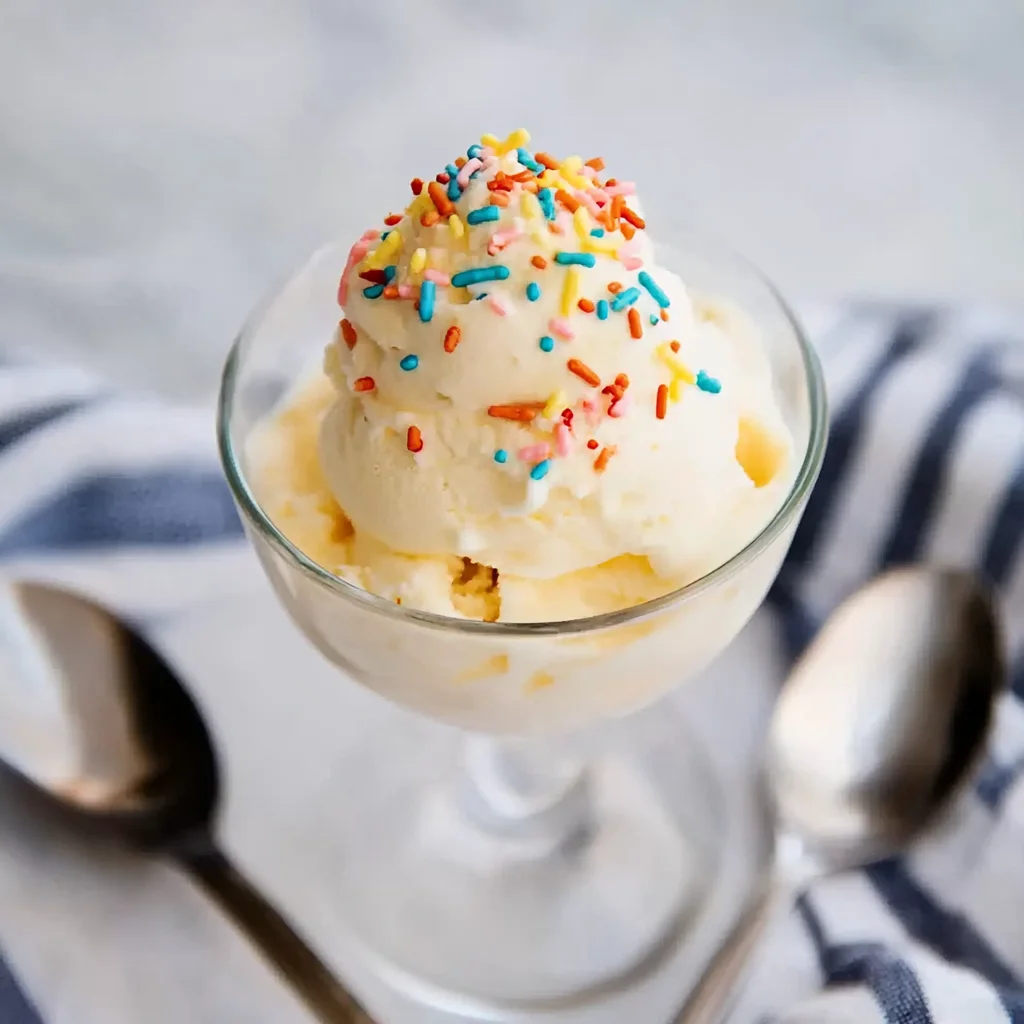
No-Churn Vanilla Ice Cream is your go-to frozen dessert that combines simplicity with indulgence. Perfect for any occasion, from summer barbecues to cozy family dinners, this homemade treat requires no ice cream maker. With just a handful of ingredients, you can create a creamy, rich delight that everyone will adore. The luscious texture and sweet vanilla flavor make it an ideal base for toppings or mix-ins that elevate the experience. Plus, it’s incredibly easy to prepare—just mix, freeze, and enjoy!
- Total Time: 25 minutes
- Yield: Approximately 4 servings 1x
Ingredients
- 6 ounces heavy cream (about 3/4 cup)
- 3 large eggs
- 3 1/2 ounces sugar (about 1/2 cup)
- 1/4 teaspoon kosher salt
- 3/4 teaspoon vanilla extract
Instructions
- In a mixing bowl, whisk together eggs, sugar, and salt. Set over simmering water (double boiler) and whisk until thickened (about 8–10 minutes).
- Remove from heat; continue whisking until cooled and airy.
- In another bowl, whip heavy cream until stiff peaks form.
- Gently fold whipped cream and vanilla into egg mixture until combined.
- Pour into a loaf pan or freezer-safe container, smooth the top, cover tightly, and freeze for at least 4 hours or until firm.
- Serve directly from the freezer.
- Prep Time: 15 minutes
- Cook Time: 10 minutes
- Category: Dessert
- Method: Mixing and Freezing
- Cuisine: American
Nutrition
- Serving Size: 1/2 cup (approximately 125g)
- Calories: 350
- Sugar: 24g
- Sodium: 45mg
- Fat: 27g
- Saturated Fat: 17g
- Unsaturated Fat: 8g
- Trans Fat: 0g
- Carbohydrates: 27g
- Fiber: 0g
- Protein: 4g
- Cholesterol: 155mg
Keywords: Use fresh ingredients for the best flavor. Feel free to customize with chocolate chips or fruits for added variety.