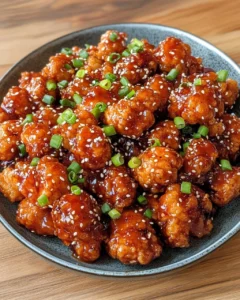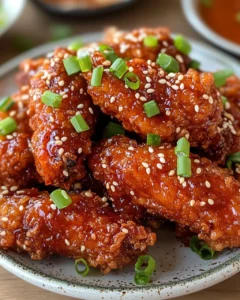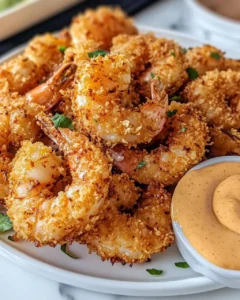
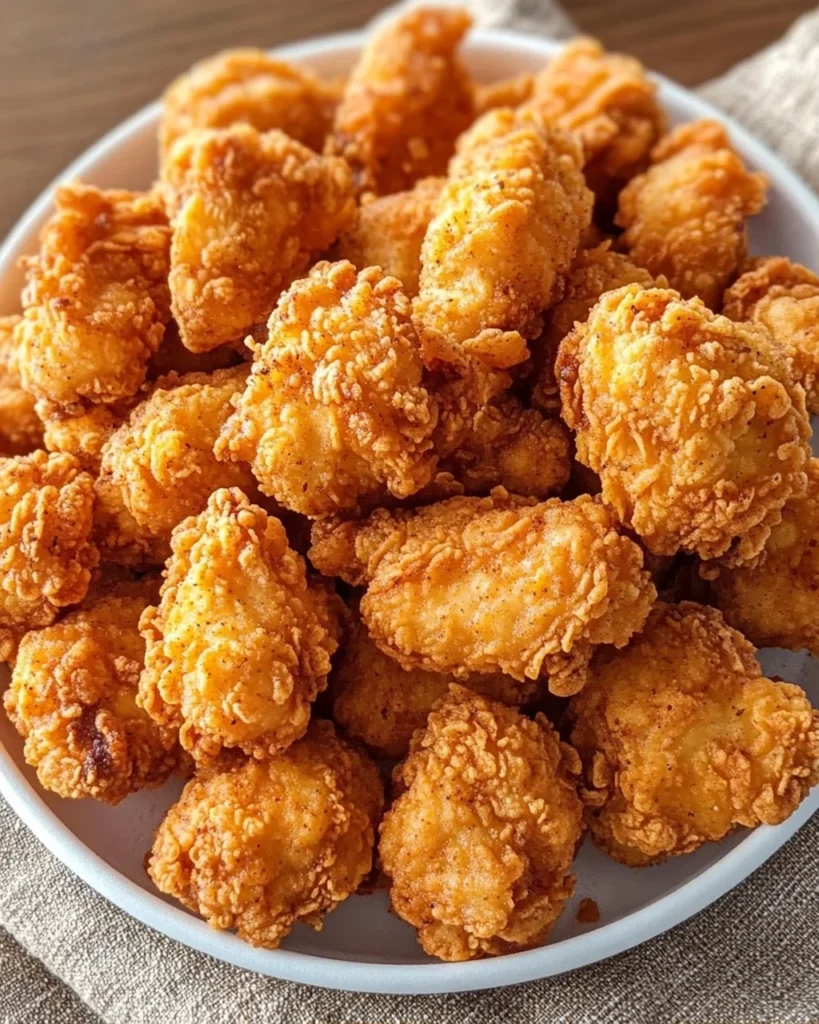
If you’re looking for a deliciously crispy treat that everyone will love, then this Crispy Popcorn Chicken recipe is just what you need! It’s one of those dishes that can brighten any busy weeknight or make your weekend gatherings extra special. I love how the juicy chicken pieces are perfectly seasoned and fried until golden brown, creating an irresistible crunch with every bite. Trust me, once you try it, you’ll agree that this homemade version tastes so much better than any fast-food alternative!
This recipe is not only perfect for family dinners but also a fantastic option for game day gatherings or meal prep for the week ahead. You’ll find that it’s easy to whip up and even easier to enjoy with your favorite dipping sauce. Let’s dive into this delightful recipe together!
Why You’ll Love This Recipe
- Quick Prep Time: With just 15 minutes of prep, you can have a tasty meal ready in no time.
- Family-Friendly: Kids and adults alike will adore these crunchy bites, making dinner stress-free.
- Make-Ahead Convenience: Marinate the chicken ahead of time to save on cooking during busy days.
- Flavorful Dipping Sauce: The tangy Canes-style dipping sauce elevates this dish to the next level!
- Perfect for Any Occasion: Whether it’s a casual night in or a festive get-together, this dish fits right in.
Ingredients You’ll Need
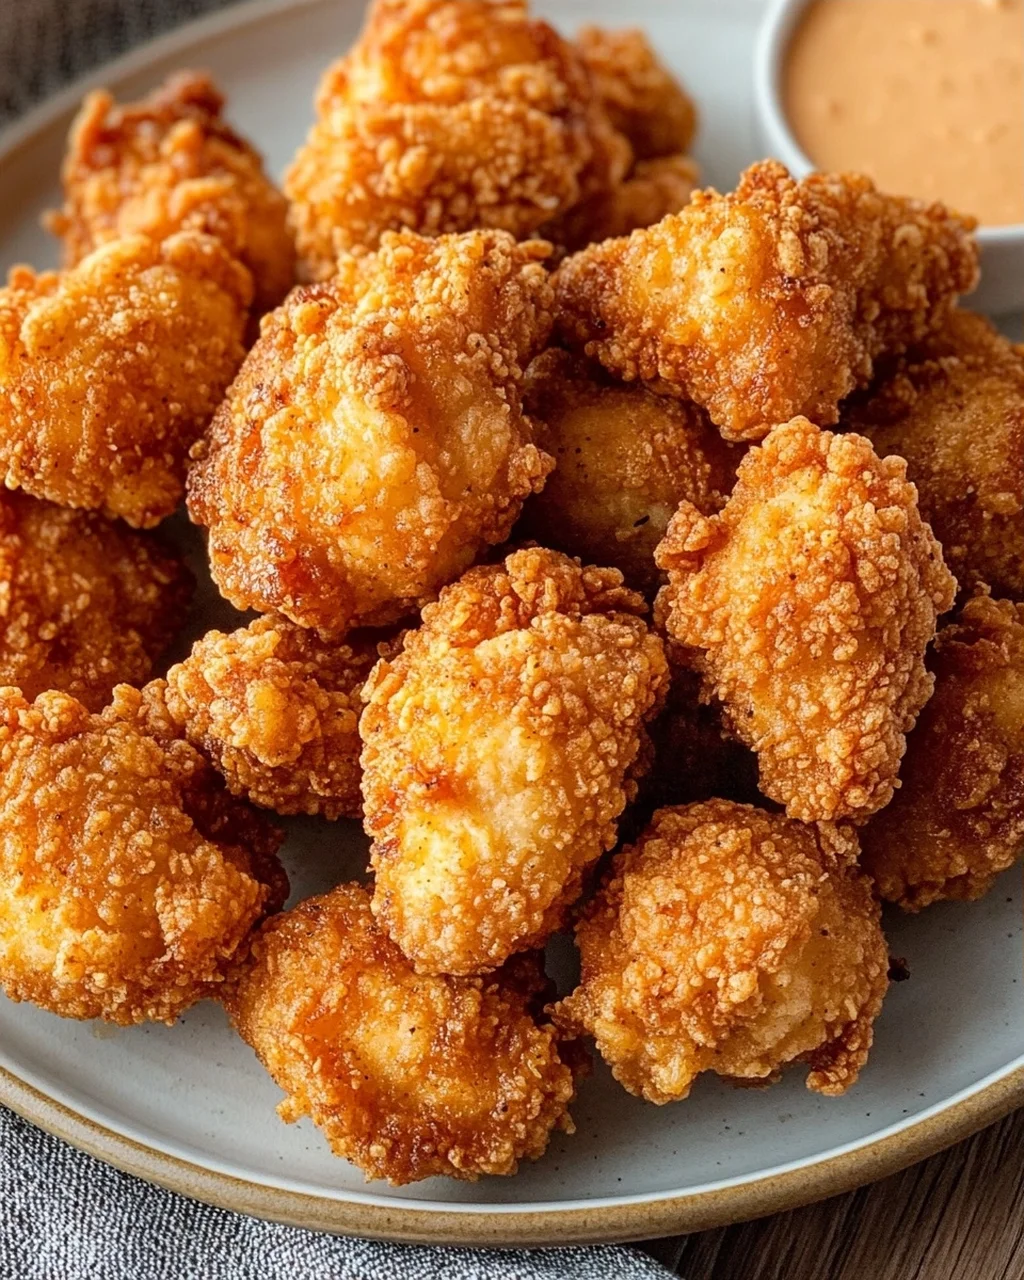
Let’s gather our simple and wholesome ingredients! This recipe features tender chicken pieces marinated in buttermilk and pickle juice, which not only ensures flavor but also tenderness. You’ll coat them with a seasoned flour mixture before frying them to crispy perfection. Here’s what you’ll need:
For the Marinade
- 1.5 pounds chicken breast, cut into small bite-size pieces
- 1 cup buttermilk, provides tenderness and tang
- 1 cup pickle juice, adds flavor depth and acidity
- 1 egg, helps bind the marinade
- 1 teaspoon salt, for the marinade
- 1 teaspoon black pepper, for the marinade
- 1 teaspoon garlic powder, for the marinade
- 1 teaspoon paprika, for the marinade
For the Coating
- 1.5 cups all-purpose flour, for the crispy coating
- 2 tablespoons cornstarch, creates extra crunchiness
- 1 teaspoon salt, for the coating
- 1 teaspoon black pepper, for the coating
- 1 teaspoon paprika, for the coating
- 1 teaspoon garlic powder, for the coating
For Frying
- Oil for frying, vegetable or peanut oil works best
For the Dipping Sauce
- 1 cup mayonnaise, base of our creamy sauce
- 3 tablespoons ketchup, adds slight sweetness and tang
- 1 teaspoon Worcestershire sauce, deepens the umami flavor
- 1 teaspoon garlic powder, for added flavor
- 0.5 teaspoon black pepper, for seasoning
- 0.5 teaspoon paprika, for color and zest
Variations
This Crispy Popcorn Chicken recipe is wonderfully flexible! Feel free to get creative and adjust it to fit your taste preferences or dietary needs.
- Swap the protein: Try using turkey breast or even cauliflower florets if you’re looking for a plant-based option.
- Change up the spices: Experiment with different seasonings like Cajun spice or Italian herbs to create a unique flavor profile.
- Make it spicy: Add cayenne pepper to your flour mixture for an extra kick that heat lovers will appreciate.
- Go gluten-free: Substitute all-purpose flour with gluten-free flour blends or almond flour, keeping everything just as tasty!
How to Make Crispy Popcorn Chicken
Step 1: Mix the Marinade
In a large bowl, whisk together 1 cup of buttermilk, 1 cup of pickle juice, 1 egg, and your seasoning ingredients—salt, black pepper, garlic powder, and paprika. This flavorful marinade not only tenderizes but also infuses each piece of chicken with amazing taste.
Step 2: Coat the Chicken
Add your bite-sized chicken pieces to the marinade bowl and stir until every piece is fully submerged. This step is crucial because it allows all those wonderful flavors to soak into each piece of chicken.
Step 3: Marinate
Cover your bowl with plastic wrap and refrigerate it; letting it marinate is key! Ideally, aim for at least an hour (but if you can wait longer—4 to 12 hours is best) so that each bite bursts with flavor when cooked.
Step 4: Combine Sauce Ingredients
While your chicken marinates, let’s whip up our dipping sauce! In a small bowl, mix together mayonnaise, ketchup, Worcestershire sauce, garlic powder, black pepper, and paprika until smooth. This sauce brings everything together beautifully!
Step 5: Blend Until Smooth
Stir until there are no streaks left in your sauce mixture; we want it glossy and inviting! Once done, transfer it into a serving bowl and refrigerate while we finish preparing our chicken.
Step 6: Chill Sauce
Allowing your dipping sauce to chill not only enhances its flavors but also gives it that perfect creamy consistency when served alongside your crispy chicken.
Step 7: Mix Dry Ingredients
In a shallow dish or bowl, combine all-purpose flour with cornstarch and seasoning ingredients—salt, black pepper, paprika, and garlic powder. Whisk until evenly distributed; this mix will give us that extra crunch we’re looking for!
Step 8: Combine Thoroughly
Ensure there are no lumps in your flour mixture; a smooth coating means better adhesion on our chicken pieces.
Step 9: Coat the Pieces
Working in batches is essential here! Take marinated chicken pieces straight from their bath into your seasoned flour mix without shaking off excess marinade—it helps create that delicious crust!
Step 10: Press Firmly
Press each coated piece firmly into the mixture; this creates those lovely crinkles on their surface—this texture is important because it promotes crispiness when fried.
Step 11: Rest Before Frying
Place those coated beauties on a plate while they rest for about 5-10 minutes. This step allows them to set properly before they hit that hot oil!
Step 12: Heat the Oil
Pour oil into a heavy-bottomed pot or deep skillet and heat it to around 340-350 degrees Fahrenheit (170-175 degrees Celsius). Keeping an eye on temperature ensures even cooking without burning.
Step 13: First Fry
Carefully add coated chicken pieces into hot oil in batches; avoid overcrowding! Fry them gently until they turn lightly golden (about 3-4 minutes)—this first fry cooks through without browning too much.
Step 14: Rest Between Fries
Use a slotted spoon to remove fried chicken from oil onto a wire rack. Let them rest here (2-3 minutes); this crucial step lets moisture escape while maintaining crispiness.
Step 15: Second Fry
Now return those rested pieces back into hot oil—the result will be stunning! Fry them again until deep golden brown (another 2-3 minutes). You’re going to love how crispy they become!
Step 16: Final Drain
Once fried perfectly golden brown, transfer them back onto that wire rack again instead of paper towels—the key here is preventing steam from softening our beautiful coating!
Now sit back and enjoy your homemade Crispy Popcorn Chicken along with that creamy dipping sauce—you deserve every crunchy bite!
Pro Tips for Making Crispy Popcorn Chicken
Creating the perfect crispy popcorn chicken can be a delightful and rewarding experience! Here are some helpful tips to ensure your chicken turns out irresistibly crunchy and flavorful:
Use Fresh Ingredients: Fresh chicken and spices significantly enhance flavor. When you use fresh, high-quality ingredients, your final dish will taste much better.
Don’t Skip the Marinade: Allowing the chicken to marinate longer (4 to 12 hours) helps tenderize the meat and infuse it with flavor. This step is crucial for achieving that juicy interior while maintaining a crispy exterior.
Double Fry for Extra Crispiness: Frying the chicken twice creates an ultra-crispy crust. This method allows moisture to escape during the first fry, ensuring that the second fry produces a golden-brown finish.
Monitor Oil Temperature Closely: Keeping the oil between 340 to 350 degrees Fahrenheit ensures even cooking and prevents greasy chicken. A thermometer is your best friend here!
Rest Between Frying: Letting the chicken rest after the first fry allows it to cook through without overcooking. This step also helps maintain its crispiness when you do the second fry.
How to Serve Crispy Popcorn Chicken
Serving crispy popcorn chicken can be as fun as making it! Whether you’re hosting a game day gathering or enjoying a cozy family dinner, these ideas will elevate your presentation.
Garnishes
- Chopped Fresh Parsley: A sprinkle of chopped parsley adds a pop of color and freshness that brightens up the plate.
- Lemon Wedges: Serving lemon wedges allows guests to squeeze fresh juice over their chicken, adding a zesty kick.
- Sliced Green Onions: Thinly sliced green onions not only add color but also a mild onion flavor that complements the crispy coating nicely.
Side Dishes
Coleslaw: A crunchy, tangy coleslaw contrasts wonderfully with the crispy chicken, providing a cool and refreshing balance.
French Fries: Classic fries are always a hit! Their fluffy interior and crispy exterior mirror your popcorn chicken’s texture perfectly.
Macaroni and Cheese: Creamy mac and cheese pairs beautifully with fried foods, offering comfort in every bite that no one can resist.
Corn on the Cob: Sweet corn on the cob brings a touch of summer to your plate, and its natural sweetness complements the savory flavors of the chicken.
With these tips and serving suggestions, you’re set for an unforgettable meal featuring your homemade crispy popcorn chicken! Enjoy every crunchy bite.
Make Ahead and Storage
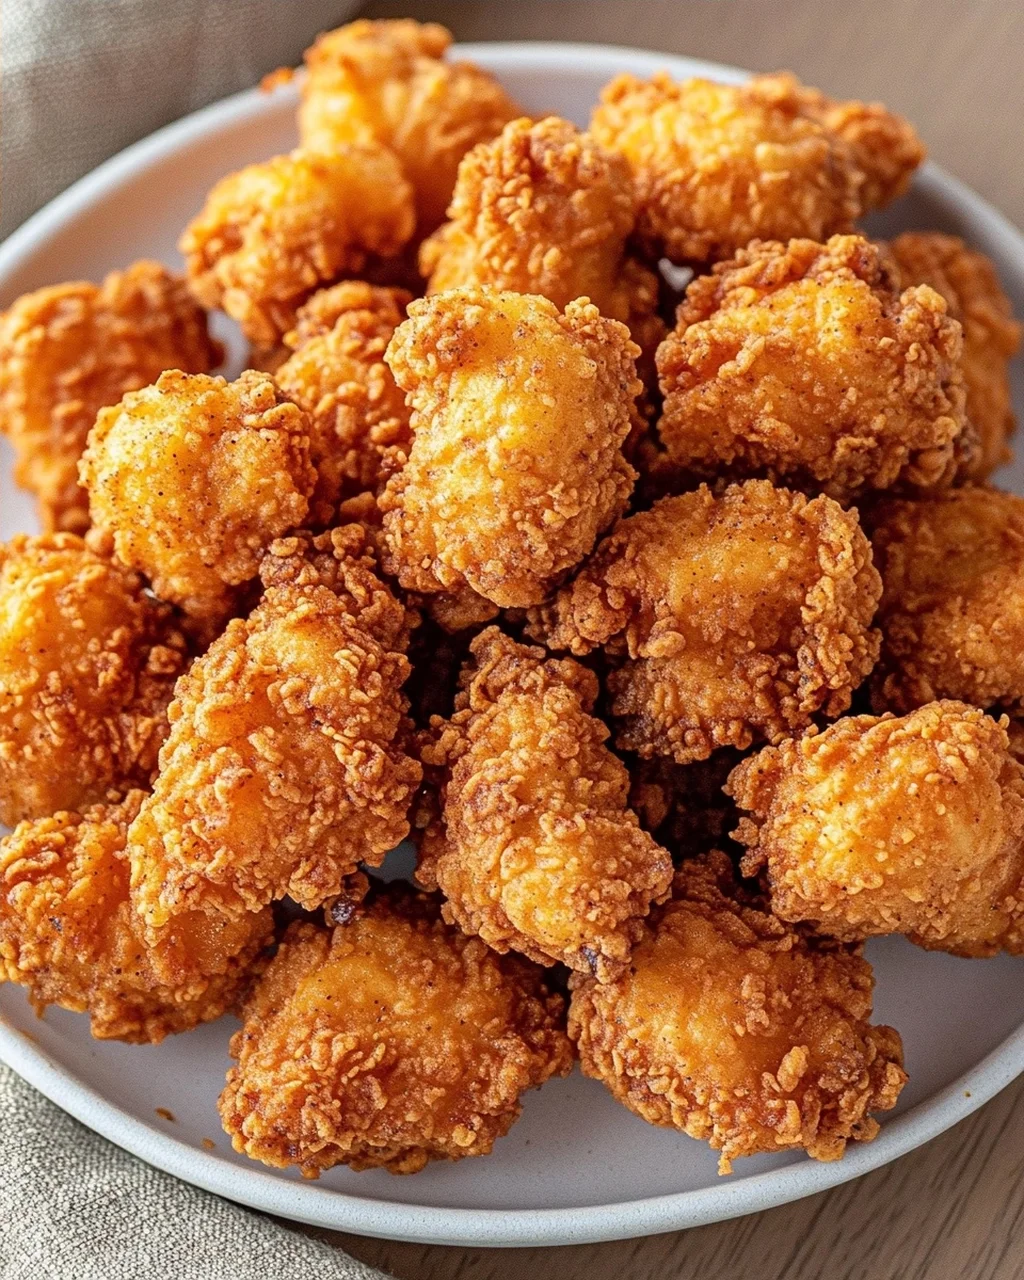
This Crispy Popcorn Chicken recipe is not only delicious but also perfect for meal prepping! You can easily make a batch ahead of time, ensuring that you have a tasty snack or meal ready to go whenever you need it.
Storing Leftovers
- Allow the chicken to cool completely before storing.
- Place the leftover chicken in an airtight container.
- Refrigerate for up to 3 days.
Freezing
- After frying, let the chicken cool completely on a wire rack.
- Arrange the chicken pieces in a single layer on a baking sheet and freeze until solid (about 1-2 hours).
- Transfer the frozen chicken to an airtight container or freezer bag for long-term storage.
- Freeze for up to 3 months.
Reheating
- Preheat your oven to 375°F (190°C).
- Place the frozen or refrigerated chicken on a baking sheet lined with parchment paper.
- Bake for 15-20 minutes, or until heated through and crispy. If using frozen chicken, you may need to add a few more minutes.
- Alternatively, reheat in an air fryer at 350°F (175°C) for about 8-10 minutes.
FAQs
Here are some common questions readers might have about making Crispy Popcorn Chicken.
Can I use different marinades for Crispy Popcorn Chicken?
Absolutely! While the buttermilk and pickle juice marinade adds great flavor and tenderness, feel free to experiment with other marinades such as yogurt or even a spicy hot sauce blend for an extra kick!
How do I ensure my Crispy Popcorn Chicken stays crispy?
To keep your Crispy Popcorn Chicken crispy, store it uncovered in the refrigerator after frying. When reheating, use an oven or air fryer instead of microwaving, as they help maintain that wonderful crunch.
Can I make Crispy Popcorn Chicken gluten-free?
Yes! Simply substitute the all-purpose flour with a gluten-free flour blend and cornstarch. This will keep your Crispy Popcorn Chicken just as delicious while being suitable for those with gluten sensitivities.
Final Thoughts
I hope you enjoy making this Crispy Popcorn Chicken as much as I do! It’s a delightful treat that’s sure to impress family and friends alike. Whether you’re serving it during game day gatherings or just enjoying it as a weeknight dinner, this recipe is sure to be a hit. Don’t hesitate to try it out and share your experiences—happy cooking!
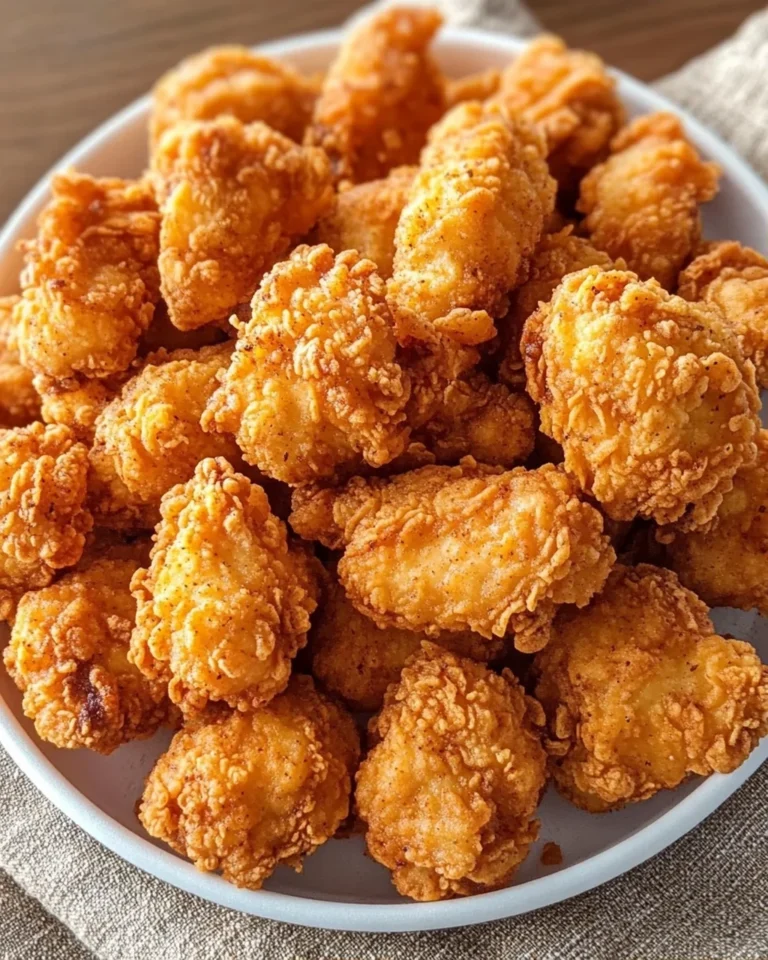
Crispy Popcorn Chicken
Crispy Popcorn Chicken features tender, juicy chicken pieces marinated in buttermilk and pickle juice, then coated in a seasoned flour mixture and double-fried to golden, ultra-crispy perfection. Served with a tangy Canes-style dipping sauce, this homemade version tastes infinitely better than fast-food alternatives and is perfect for weeknight dinners, game day gatherings, or meal prepping for the week.
- Total Time: 45 minutes
- Yield: 4 servings 1x
Ingredients
- 1.5 pounds chicken breast, cut into small bite-size pieces
- 1 cup buttermilk (provides tenderness and tang)
- 1 cup pickle juice (adds flavor depth and acidity)
- 1 each egg (helps bind the marinade)
- 1 teaspoon salt (for the marinade)
- 1 teaspoon black pepper (for the marinade)
- 1 teaspoon garlic powder (for the marinade)
- 1 teaspoon paprika (for the marinade)
- 1.5 cups all-purpose flour (for the crispy coating)
- 2 tablespoons cornstarch (creates extra crunchiness)
- 1 teaspoon salt (for the coating)
- 1 teaspoon black pepper (for the coating)
- 1 teaspoon paprika (for the coating)
- 1 teaspoon garlic powder (for the coating)
- oil for frying (vegetable or peanut oil works best)
- 1 cup mayonnaise (for the Canes-style dipping sauce)
- 3 tablespoons ketchup (adds slight sweetness and tang)
- 1 teaspoon Worcestershire sauce (deepens the umami flavor)
- 1 teaspoon garlic powder (for the dipping sauce)
- 0.5 teaspoon black pepper (for the dipping sauce)
- 0.5 teaspoon paprika (for the dipping sauce)
Instructions
- Mix the Marinade: In a large bowl, whisk together 1 cup buttermilk, 1 cup pickle juice, 1 egg, 1 teaspoon salt, 1 teaspoon black pepper, 1 teaspoon garlic powder, and 1 teaspoon paprika until well combined.
- Coat the Chicken: Add your bite-size chicken pieces to the marinade bowl and stir until every piece is fully submerged and coated.
- Marinate: Cover the bowl with plastic wrap and refrigerate for a minimum of 1 hour, though 4 to 12 hours yields the best results and allows the flavors to fully penetrate the meat.
- Combine Sauce Ingredients: In a small bowl, mix 1 cup mayonnaise, 3 tablespoons ketchup, 1 teaspoon Worcestershire sauce, 1 teaspoon garlic powder, 0.5 teaspoon black pepper, and 0.5 teaspoon paprika.
- Blend Until Smooth: Stir until the mixture is smooth, glossy, and well incorporated with no streaks.
- Chill Sauce: Transfer to a serving bowl, cover, and refrigerate for at least 30 minutes to allow the flavors to meld.
- Mix Dry Ingredients: In a shallow bowl or dish, combine 1.5 cups all-purpose flour, 2 tablespoons cornstarch, 1 teaspoon salt, 1 teaspoon black pepper, 1 teaspoon paprika, and 1 teaspoon garlic powder.
- Combine Thoroughly: Whisk until all ingredients are evenly distributed and there are no lumps in the mixture.
- Coat the Pieces: Working in batches, transfer marinated chicken pieces directly into the flour mixture without shaking off excess marinade.
- Press Firmly: Press each piece firmly into the coating mixture, creating visible crinkles and textured ridges on the surface, as this is essential for achieving that ultra-crispy exterior.
- Rest Before Frying: Place coated chicken pieces on a plate and let them rest for 5 to 10 minutes, allowing the coating to set and adhere properly.
- Heat the Oil: Pour oil into a heavy-bottomed pot or deep skillet and heat to 340 to 350 degrees Fahrenheit (170 to 175 degrees Celsius), using a thermometer to monitor temperature accurately.
- First Fry: Working in batches to avoid overcrowding, carefully place coated chicken pieces into the hot oil and fry for 3 to 4 minutes until they are lightly golden in color.
- Rest Between Fries: Remove the chicken with a slotted spoon and place on a wire rack to rest for 2 to 3 minutes, allowing the interior to cook through while the oil drains.
- Second Fry: Return the rested chicken to the 340 to 350 degree Fahrenheit oil and fry for 2 to 3 minutes until deep golden brown and ultra crispy.
- Final Drain: Remove from oil and drain on a clean wire rack, never on paper towels, which will trap steam and soften the coating.
- Prep Time: 15 minutes
- Cook Time: 30 minutes
Nutrition
- Serving Size: 1