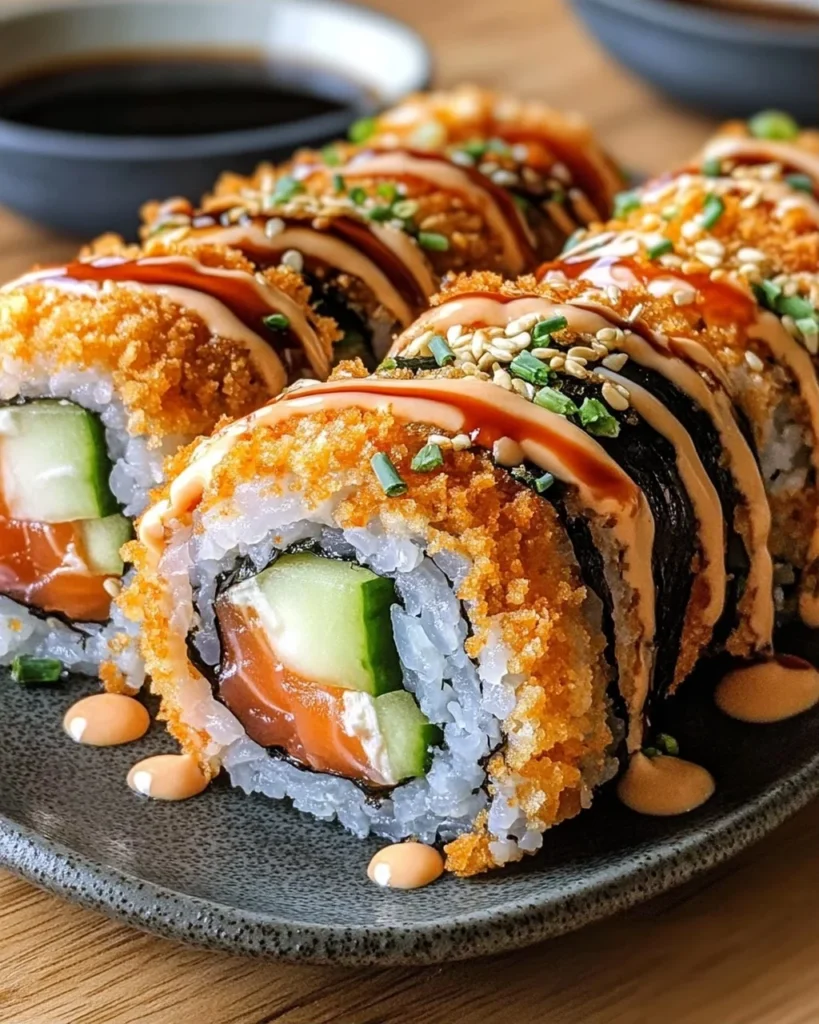
If you’re looking for a fun and delightful twist on sushi, this Crispy Sushi Burrito is your answer! Imagine the classic flavors of sushi wrapped up in a portable burrito form—it’s perfect for busy weeknights or a casual family gathering. This recipe combines creamy avocado, fresh cucumber, and luscious sashimi-grade salmon all enveloped in seasoned sushi rice and crispy panko. It’s sure to impress your loved ones and leave everyone wanting more!
What makes this dish so special is its versatility; you can customize it based on what you have in your pantry or to suit your taste preferences. Plus, it’s an excellent way to introduce kids to sushi without overwhelming them with raw fish. Let’s dive into why you’ll absolutely love making this dish!
Why You’ll Love This Recipe
- Quick Preparation: With just 15 minutes of prep time, you can whip up this tasty meal in no time!
- Family-Friendly: Kids will love the crispy exterior and delicious fillings, making it a hit for family meals.
- Versatile Ingredients: Use whatever fresh veggies or proteins you have on hand to create your unique version.
- Make-Ahead Option: Prep the ingredients earlier in the day and fry them just before serving for a hot, crunchy treat.
- Flavor Explosion: The combination of flavors from sriracha mayo and eel sauce takes each bite to another level.
Ingredients You’ll Need
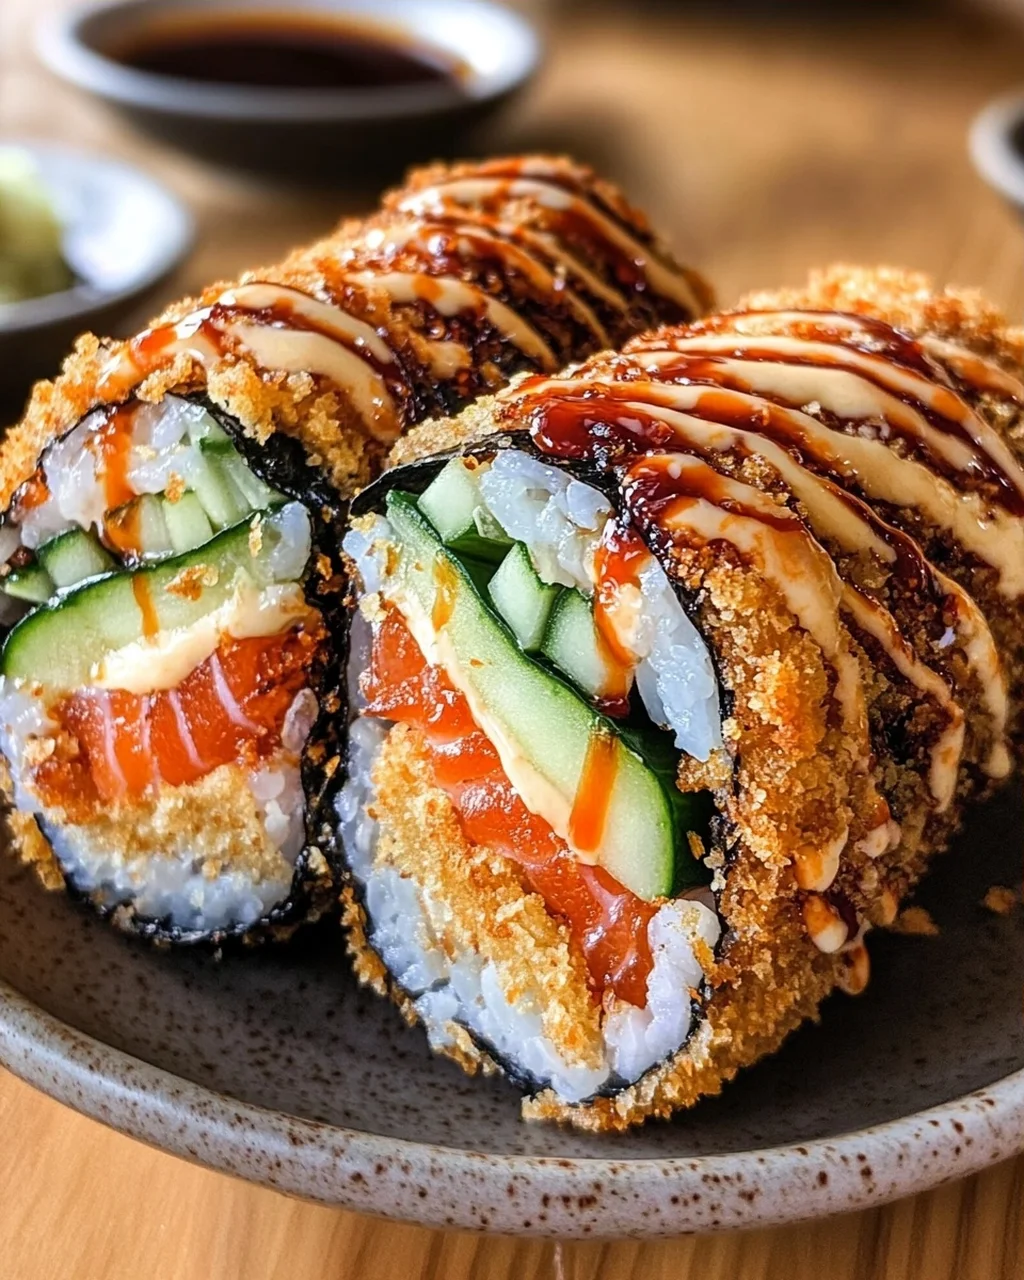
To make this Crispy Sushi Burrito, gather some simple and wholesome ingredients. Each component adds to the overall flavor and texture, creating an unforgettable fusion experience.
- 2 nori sheets, the seaweed foundation for your burrito
- 2 cups cooked sushi rice, seasoned with sushi vinegar and cooled to room temperature
- 1/3 cup all-purpose flour, for the binding slurry
- 2 tablespoons cornstarch, helps create a smooth, even coating
- 3 to 4 tablespoons water, adjust as needed for slurry consistency
- 1 cup Japanese panko breadcrumbs, for maximum crispiness
- as needed oil for frying, vegetable or neutral oil works best
- 1 cucumber, julienned into thin strips
- 1 ripe avocado, sliced thinly
- 4 ounces cream cheese, adds richness and creaminess
- 6 ounces sashimi-grade salmon, sliced into thin strips
- to taste sriracha mayo, for a spicy kick
- to taste eel sauce, adds traditional sushi sweetness and umami
- to taste furikake, sesame seeds and seaweed sprinkle for garnish
Variations
This recipe is wonderfully flexible! Feel free to mix things up based on what you enjoy or have available at home. Here are some ideas:
- Swap the protein: Try using shrimp or tofu instead of salmon if you’re looking for a different flavor profile.
- Add more veggies: Incorporate bell peppers or carrots for added crunch and color.
- Go spicy: Mix some wasabi into your cream cheese or add jalapeños for an extra kick.
- Experiment with sauces: Instead of sriracha mayo, try a spicy garlic aioli or even a sweet chili sauce.
How to Make Crispy Sushi Burrito
Step 1: Prepare the Rice
Start by cooking 2 cups of sushi rice according to package directions using either a rice cooker or stovetop method. Once cooked, transfer the rice into a large bowl. This step is crucial because perfectly cooked rice forms the base of our burrito!
Step 2: Season with Vinegar
While the rice is still warm, gently fold in sushi vinegar using a rice paddle or wooden spoon. Be careful not to mash the grains; we want that lovely texture intact! Allow it to cool at room temperature for about 20 to 30 minutes—this makes handling much easier when rolling.
Step 3: Make the Slurry
In a shallow bowl, whisk together all-purpose flour and cornstarch. Gradually add water while stirring until you reach a smooth consistency similar to pancake batter. This slurry acts as glue that helps our crispy coating stick!
Step 4: Set Up Panko Bowl
Pour Japanese panko breadcrumbs into another shallow bowl. This two-step breading process ensures that every inch of your burrito gets that delightful crunch we all crave.
Step 5: Layer the Rice
Place one nori sheet shiny side down on a clean surface. Spread an even layer of seasoned sushi rice across the sheet, leaving about an inch uncovered at the top edge. A good layer here holds everything together beautifully!
Step 6: Add the Fillings
Now it’s time to layer on those delicious fillings! Arrange julienned cucumber, sliced avocado, cream cheese strips, and sashimi-grade salmon horizontally across the center of the rice. Remember not to overstuff; we want it neatly rolled!
Step 7: Roll Tightly
Starting from the bottom edge of the nori sheet, roll tightly into a burrito shape while tucking in the sides as you go along. When you reach that top edge, seal it with a little brush of flour slurry—this keeps everything secure.
Step 8: Apply the Slurry
With one burrito at a time in hand, coat its entire surface with flour slurry using your hands or a brush. Ensure there are no dry spots; this is what will help our panko stick like magic!
Step 9: Roll in Panko
Gently transfer your slurry-coated burrito into the bowl of panko breadcrumbs and roll until all sides are covered evenly. Press gently so that panko adheres nicely—this guarantees that perfect crunch outside!
Step 10: Fry Until Golden
Heat oil in deep skillet or wok until it reaches around 350 degrees Fahrenheit. Carefully place each breaded burrito into hot oil and fry for about 4 to 5 minutes total—turning frequently until they achieve that golden-brown perfection.
Step 11: Slice and Plate
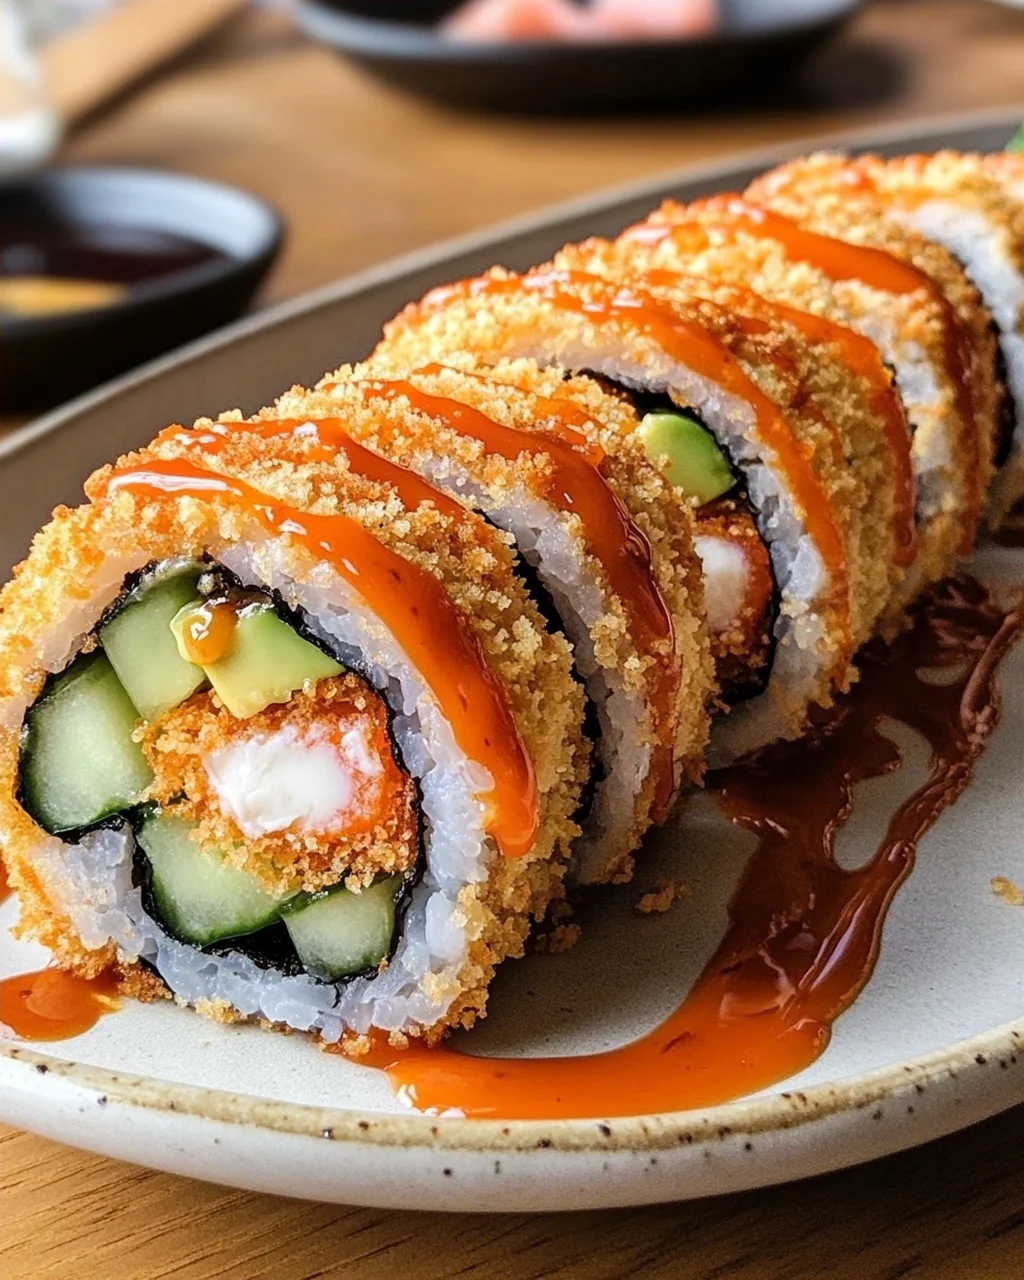
After frying, let burritos cool on paper towel-lined plates for just about 1–2 minutes so they can set slightly inside. Using a sharp wet knife, slice each one in half at an angle—it’s all about presentation!
Step 12: Drizzle and Garnish
Arrange those beautiful halves on plates! Drizzle generously with sriracha mayo and eel sauce—don’t be shy here! Finally, finish off with sprinkles of furikake for that extra pop of flavor.
Step 13: Serve Immediately
Enjoy your crispy sushi burrito right away while it’s still wonderfully crunchy outside but creamy inside! You won’t regret diving into this delightful fusion treat!
Pro Tips for Making Crispy Sushi Burrito
Making the perfect crispy sushi burrito is easier than you think! Just keep these helpful tips in mind to ensure your creation turns out deliciously.
Use Fresh Ingredients: Always opt for fresh, high-quality ingredients, especially the sashimi-grade salmon. This enhances the flavor and texture of your burrito.
Don’t Overstuff: While it might be tempting to pile on the fillings, overstuffing can make rolling difficult and may lead to spilling during frying. Aim for a balanced filling for a neat and tidy burrito.
Control Oil Temperature: Make sure the oil is at the right temperature (350°F) before frying. If it’s too cool, your burrito will absorb excess oil; if too hot, it may burn before cooking through.
Let it Cool Slightly Before Slicing: Allowing the burrito to cool for a couple of minutes after frying helps set the filling, making it easier to slice without spilling everything out.
Experiment with Fillings: Feel free to mix and match fillings based on your preferences! Try adding shredded carrots or spicy tuna for an extra twist that suits your taste.
How to Serve Crispy Sushi Burrito
Presenting your crispy sushi burrito can turn a simple meal into an exciting dining experience. Here are some ideas to elevate your dish!
Garnishes
- Furikake: This Japanese seasoning blend adds a lovely crunch and umami flavor, making each bite even more delightful.
- Chopped Green Onions: A sprinkle of fresh green onions not only adds color but also brings a burst of freshness that complements the rich flavors of the burrito.
- Sesame Seeds: Toasted sesame seeds provide a nutty aroma and additional texture, enhancing both presentation and taste.
Side Dishes
- Edamame: These lightly salted young soybeans are a nutritious and fun finger food that pairs perfectly with the sushi burrito.
- Seaweed Salad: A refreshing side that offers a contrast in texture, seaweed salad adds a tangy flavor profile that complements the savory elements of your meal.
- Miso Soup: Warm miso soup serves as a comforting accompaniment, balancing out the crispy texture of your sushi burrito with its smoothness.
- Pickled Ginger: This zesty condiment cleanses the palate between bites and adds an authentic touch inspired by traditional sushi dining experiences.
With these tips and serving suggestions, you’re ready to impress family and friends with your crispy sushi burrito masterpiece! Enjoy every crunchy, creamy bite!
Make Ahead and Storage
This crispy sushi burrito is perfect for meal prep! Not only is it a delicious fusion dish, but it also holds up well when stored properly. You can whip up a batch ahead of time for easy lunches or quick dinners throughout the week.
Storing Leftovers
- Allow any leftover burritos to cool completely before storing.
- Wrap each burrito tightly in plastic wrap or aluminum foil.
- Place wrapped burritos in an airtight container to keep them fresh.
- Store in the refrigerator for up to 2 days.
Freezing
- For longer storage, freeze the cooked burritos before drizzling with sauces.
- Wrap each cooled burrito tightly in plastic wrap and then in aluminum foil for extra protection against freezer burn.
- Label the containers with the date and freeze for up to 1 month.
Reheating
- Thaw frozen burritos in the refrigerator overnight before reheating.
- To reheat, preheat your oven to 350 degrees Fahrenheit.
- Place burritos on a baking sheet and cover with foil to prevent over-browning.
- Bake for about 15-20 minutes or until heated through. Alternatively, you can use an air fryer for a few minutes at 350 degrees Fahrenheit to maintain crispiness.
FAQs
Here are some common questions about making a crispy sushi burrito.
Can I make a crispy sushi burrito without frying?
Absolutely! If you’d prefer a lighter option, you can skip the frying step and enjoy it fresh as a sushi roll. Just be sure to serve immediately after assembling.
What makes this crispy sushi burrito so special?
The combination of fresh ingredients like sashimi-grade salmon, creamy avocado, and crunchy panko creates an unforgettable taste experience. It’s not just a meal; it’s a culinary adventure!
How do I ensure my crispy sushi burrito stays crispy?
To maintain that delightful crunch, avoid drizzling sauces until you’re ready to eat. Also, store leftovers properly and reheat using an oven or air fryer for optimal crispiness.
Final Thoughts
I hope you’re as excited about making this crispy sushi burrito as I am! It’s such a fun recipe that brings together flavors and textures in a way that’s both impressive and delicious. Whether you’re preparing it for yourself or sharing with friends and family, I’m certain you’ll enjoy every bite. Don’t hesitate to try your hand at this unique dish—happy cooking!
Dinner Ideas
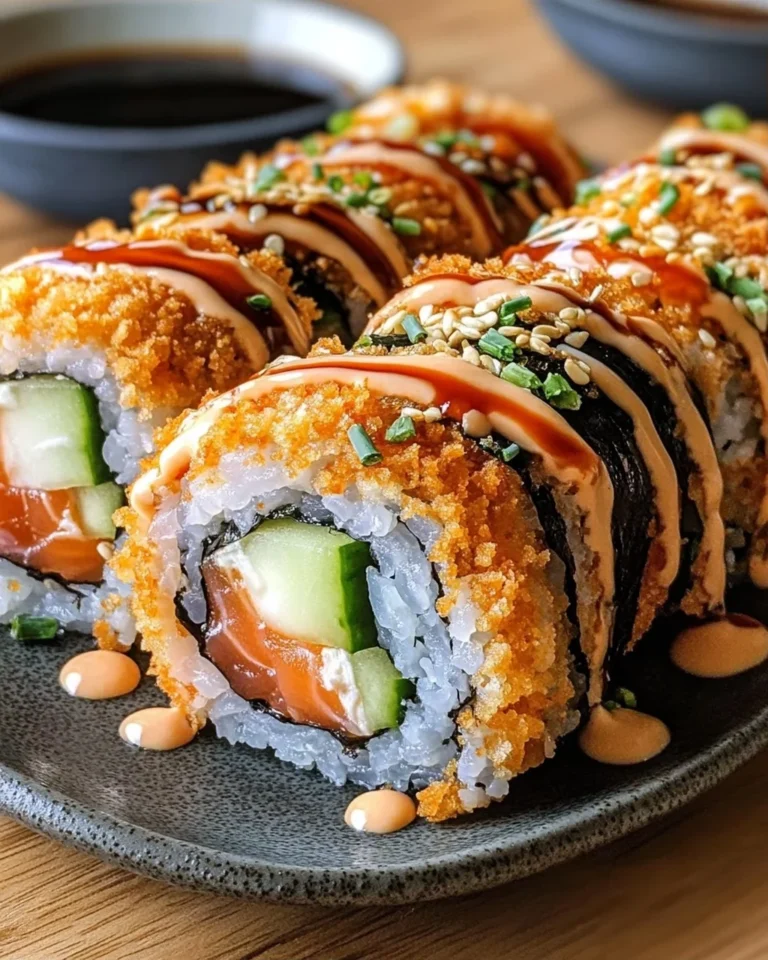
Crispy Sushi Burrito
This crispy sushi burrito features sashimi-grade salmon, creamy avocado, and fresh cucumber wrapped in seasoned sushi rice and nori, then coated in a crunchy panko crust and deep-fried until golden.
- Total Time: 30 minutes
- Yield: 2 servings 1x
Ingredients
- 2 sheets nori (the seaweed foundation for your burrito)
- 2 cups cooked sushi rice (seasoned with sushi vinegar and cooled to room temperature)
- 1/3 cup all-purpose flour (for the binding slurry)
- 2 tablespoons cornstarch (helps create a smooth, even coating)
- 3 to 4 tablespoons water (adjust as needed for slurry consistency)
- 1 cup Japanese panko breadcrumbs (for maximum crispiness)
- as needed oil for frying (vegetable or neutral oil works best)
- 1 cucumber (julienned into thin strips)
- 1 ripe avocado (sliced thinly)
- 4 ounces cream cheese (adds richness and creaminess)
- 6 ounces sashimi-grade salmon (sliced into thin strips)
- to taste sriracha mayo (for a spicy kick)
- to taste eel sauce (adds traditional sushi sweetness and umami)
- to taste furikake (sesame seeds and seaweed sprinkle for garnish)
Instructions
- Cook 2 cups of sushi rice according to package directions using a rice cooker or stovetop method. Transfer to a large bowl.
- While the rice is still warm, gently fold in the sushi vinegar using a rice paddle or wooden spoon, being careful not to mash the grains. Allow the rice to cool to room temperature, about 20 to 30 minutes.
- In a shallow bowl, whisk together the all-purpose flour and cornstarch. Add water a little at a time, stirring until you achieve a smooth, pancake-batter-like consistency that will coat the burritos evenly.
- Pour the Japanese panko breadcrumbs into a separate shallow bowl for the two-step breading process.
- Place one nori sheet on a clean, dry surface with the shiny side down. Spread a thin, even layer of sushi rice across the entire sheet, leaving about 1 inch uncovered at the top edge.
- Arrange the julienned cucumber, sliced avocado, cream cheese strips, and sashimi-grade salmon in a horizontal line across the center of the rice. Avoid overstuffing.
- Starting from the bottom edge, roll the nori tightly into a burrito shape, tucking in the sides as you go. When you reach the top, seal the edge with a light brush of flour slurry to hold it closed.
- Working with one burrito at a time, use your hands or a brush to coat the entire surface with the flour slurry, ensuring no dry spots remain.
- Immediately transfer the slurry-coated burrito to the panko bowl and roll it until all sides are evenly coated with breadcrumbs, pressing gently so the panko adheres properly.
- Heat oil in a deep skillet or wok to 350 degrees Fahrenheit. Carefully place the breaded burrito into the hot oil and fry for 4 to 5 minutes total, turning frequently with tongs to ensure even browning on all sides until it reaches a deep golden-brown color. Transfer to a paper towel-lined plate to drain excess oil.
- Allow the burrito to cool for 1 to 2 minutes so the filling sets slightly. Using a sharp, wet knife, carefully slice the burrito in half at a slight angle for an attractive presentation.
- Arrange the halves on a plate and drizzle generously with sriracha mayo and eel sauce. Finish with a sprinkle of furikake for color and extra flavor.
- Enjoy your crispy sushi burrito right away while the exterior is still wonderfully crunchy and the interior remains creamy and fresh.
- Prep Time: 15 minutes
- Cook Time: 15 minutes
- Category: Main Course
- Cuisine: Japanese, Fusion
Nutrition
- Serving Size: 1
- Calories: 500
- Sugar: 2g
- Sodium: 600mg
- Fat: 25g
- Saturated Fat: 5g
- Unsaturated Fat: 8g
- Trans Fat: 0g
- Carbohydrates: 60g
- Fiber: 5g
- Protein: 20g
- Cholesterol: 50mg
Keywords: Serve immediately for the best texture and flavor.